So, since I skipped last week due to the lack of finishes/ progress and holiday.. here I am!
So far this week seems to be mostly about cutting up fabric for the various projects I want to do, then no sewing them back together.. somethings wrong with this picture!
Here's what I mean..


 greatest idea ever
It took me so LONG to place all the pieces, I would have hated to do it again!
(are you noticing the trend yet?)
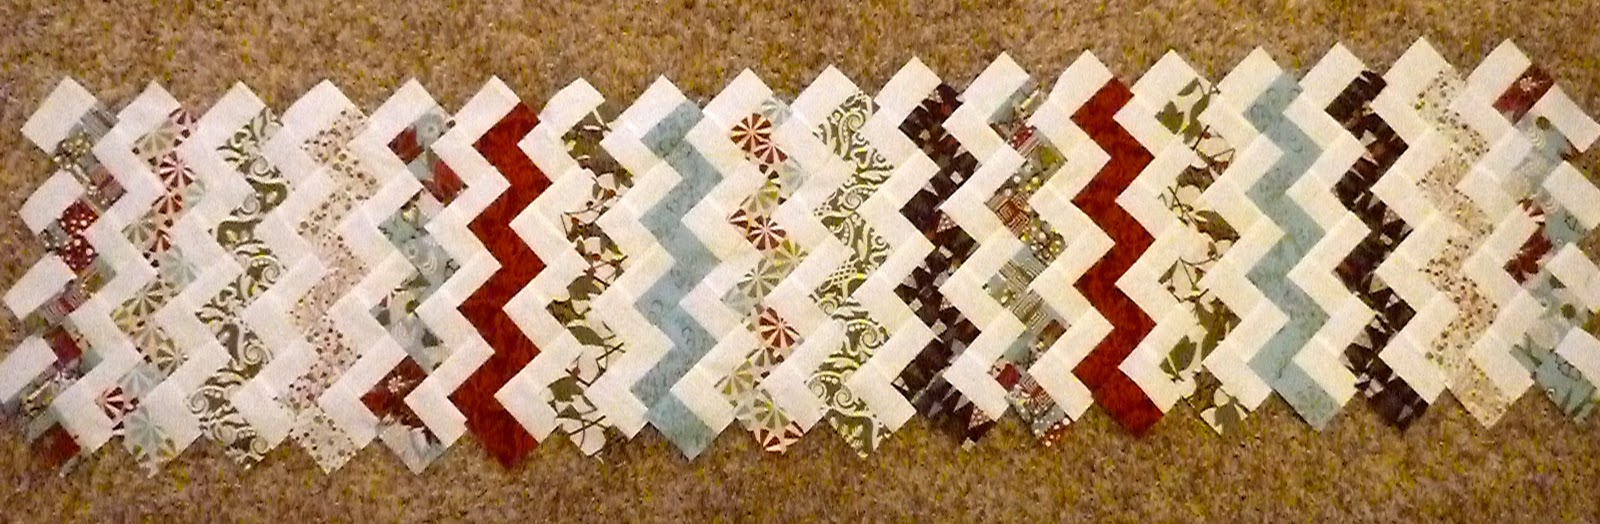
Project 3 - Scrappy Christmas Quilt
 more cutting
any observant people notice the top left corner?
thats what I have sitting under my "sewing" table haha
 woohoo! Finally some sewing!
only.. 100 more to go? oy.
Anyone remember these scraps?
They're from this quilt -- this new one is for boyfriend's mom
So far this week seems to be mostly about cutting up fabric for the various projects I want to do, then no sewing them back together.. somethings wrong with this picture!
Here's what I mean..
Works in Progress:
Project 1
Still waiting on some more fabric, but this is how the pile has sat since Sunday.
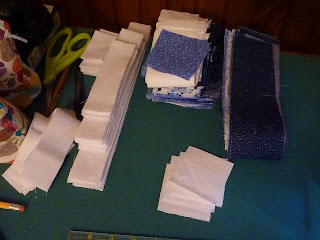
Project 2 - Ruby, Pearl and Opal Quilt

I finally cut into my Ruby layer cake and laid out the pieces..
Then I lost stamina and couldn't start piecing..
Luckily! I have purchased a flannel backed tablecloth earlier that day and the top 4 rows are on that..
I pinned them in place and folded it up (bottom row stacked separately, obviously)


It took me so LONG to place all the pieces, I would have hated to do it again!
(This was supposed to be my "design wall" of sorts, but I'm lacking a wall to put it on!
whoops! haha
(are you noticing the trend yet?)
Project 3 - Scrappy Christmas Quilt

any observant people notice the top left corner?
thats what I have sitting under my "sewing" table haha


only.. 100 more to go? oy.
Anyone remember these scraps?
They're from this quilt -- this new one is for boyfriend's mom
Finished:
3. Christmas table runner
On Hold:
1. Swoon (pictures of all the blocks together -1 coming soon)
1. Swoon (pictures of all the blocks together -1 coming soon)
My brain is in a fog these days, so i'm sure I forgot some things, but thats the gist of this week..
Hopefully you're all having more success than me!
Oh, anyone else realize December 1 is TOMORROW.
oy. mad rush to finish gifts can commence... NOW.
:)