Puff Quilt
I did it! I finished my first puff quilt.
This had been on my W.I.P. list, all it needed was the borders, backing and binding. The B-trifecta!
(Pattern by Honeybear Lane - You can purchase it using that link)
Anyway, I got to making the borders this past weekend
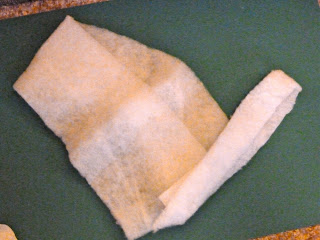
I decided to try and be a bit thrifty. I used batting leftover from my quilts to "puff" up the borders. Though the borders were not as full as the center puffs, I still think it came out well and I'm glad I was able to use up the batting, I hate wasting!
Thoughts?
(excuse the picture AGAIN, nighttime picture)
Once the borders were on, I put on the backing and starting binding it.
Here's my finished product!
Overall, I'm quite pleased with how it turned out! The colors compliment each other (chosen by my sister, who has zero quilting experience, but a total eye for colors and things like that) and the flannel backing gives it some added warmth.
I'll let you know how the mom-to-be likes it! I hope she does!
Till next time!
I'm Linking up..


Very cute! I haven't tried making mitered borders before. Yours look great!
ReplyDeleteI never have either but the tutorial was so well written, it was very easy to understand and a total success :)
ReplyDeleteThis is cute and looks soft and warm! May I ask where you got the pattern from?
ReplyDelete